Homemade Greek Chips: Your Guide to Crispy Perfection & Flavor
Tired of store-bought potato chips that are often stale, laden with preservatives, and lack that truly satisfying crunch? Imagine the aroma of freshly cooked, golden-brown potato chips filling your kitchen, seasoned to perfection and bursting with Mediterranean flair. Making
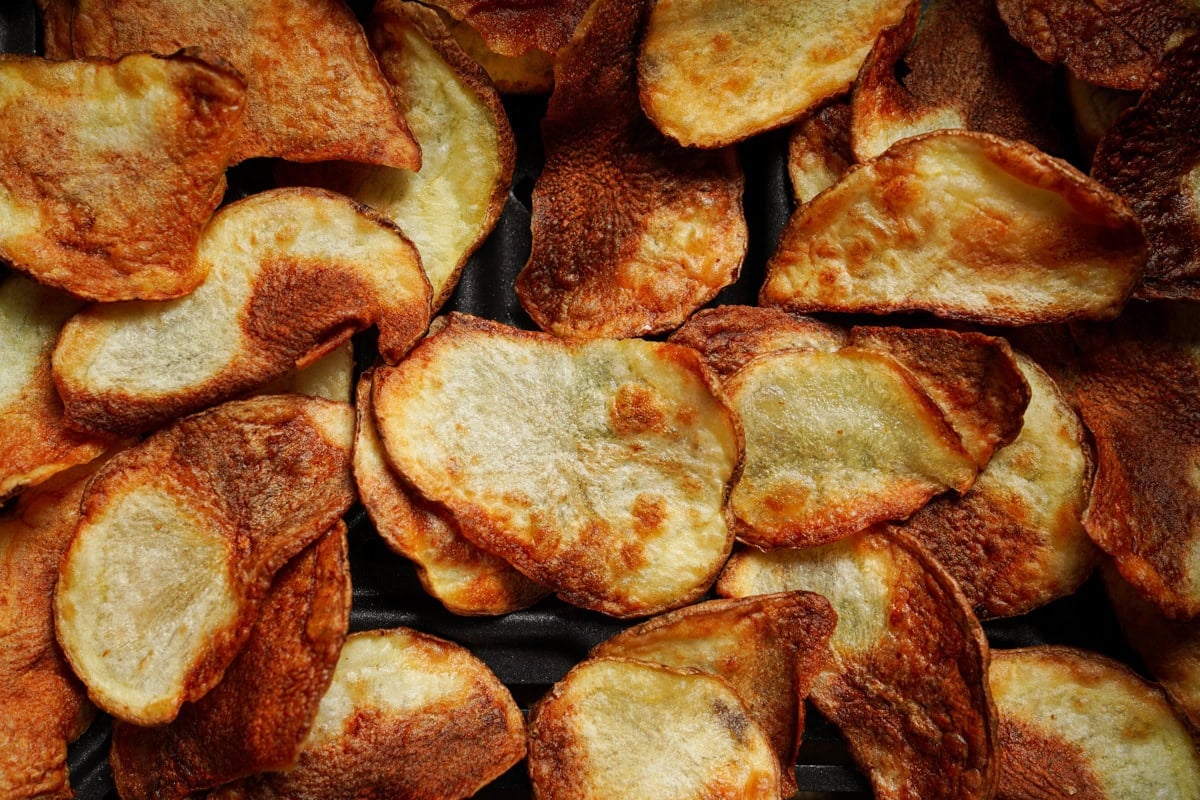
homemade Greek chips isn't just a culinary endeavor; it's an experience that promises a healthier, more flavorful, and incredibly customizable snack. This guide will walk you through every step to achieve that elusive crispy perfection, transforming simple potatoes into glorious Greek-style homemade potato chips that will have everyone reaching for more.
Forget those traditional nachos for a moment; we’re about to elevate your snack game significantly. These aren't just any homemade chips; they're loaded with Greek-inspired toppings, offering a delightful twist that, in our humble opinion, surpasses the ordinary. And the best part? You can whip up a batch of these delectable treats in as little as 30 minutes, making them an ideal last-minute addition to any meal or gathering.
The Secret to Irresistibly Crispy Greek Style Homemade Potato Chips
Achieving that ultimate crispiness in your homemade Greek chips isn't a mystery; it's a science. A few key steps can make all the difference, ensuring every chip is light, airy, and audibly crunchy.
Choosing Your Potatoes Wisely
The foundation of any great chip is the potato itself. For
greek style homemade potato chips,
Russet potatoes are your best friend. Why Russets? Their high starch content and relatively low moisture levels are the magic combination that allows them to crisp up beautifully and achieve that desirable golden hue when cooked. While other potato varieties can work, Russets offer a consistent and reliable path to chip perfection. Scrub them clean thoroughly; you can choose to peel them or leave the skins on for added rustic texture and a slight boost in nutrients. The skin won't significantly impact the flavor, but it does lend a more artisanal feel.
The Power of the Ice Bath
This is a non-negotiable step for truly crispy chips. Once your potatoes are thinly sliced (we'll get to that in a moment), soaking them in ice water for at least 30 minutes, or even up to an hour, performs a crucial function: it helps remove excess starch. Starch is what can make chips gummy or soft instead of crisp. After their refreshing bath, it's absolutely vital to dry them thoroughly. Use a salad spinner, then lay them out on paper towels or a clean kitchen towel and pat them completely dry. Any lingering moisture will hinder the crisping process and can lead to oil splattering if frying.
Slicing for Success
Uniformity is key here. The thinner and more consistent your slices, the more evenly your chips will cook and crisp. A mandoline slicer is an invaluable tool for this, allowing you to achieve wafer-thin slices with ease and precision. Aim for a thickness of about 1/16th of an inch (1.5-2mm). If you don't have a mandoline, a very sharp knife and a steady hand can work, but take your time to ensure consistency.
Cooking Methods: Fry, Bake, or Air Fry Your Way to Perfection
Once your potatoes are prepped, it's time to cook them. You have several delicious options, each with its own benefits.
Classic Frying for Golden Crisps
For the most traditional and intensely crispy result, frying is the way to go. Heat a neutral oil (like canola, sunflower, or grapeseed) in a large, heavy-bottomed pot or deep fryer to about 325-350°F (160-175°C). Fry the potato slices in small batches to avoid overcrowding, which lowers the oil temperature and leads to soggy chips. They'll need a few minutes per batch, turning occasionally, until they're golden brown and wonderfully crisp. Remove them with a slotted spoon and place them on a wire rack lined with paper towels to drain excess oil. Season immediately while hot.
Baking for a Healthier Alternative
If you're aiming for a healthier snack without compromising too much on crunch, baking is an excellent choice. Toss your thoroughly dried potato slices with a tablespoon or two of olive oil and spread them in a single layer on a baking sheet. Bake in a preheated oven at around 400°F (200°C), flipping them halfway through, until they're golden and crisp. This method might take a bit longer than frying, typically 20-30 minutes, but it significantly reduces the fat content. Ensure they are in a single layer to allow for even crisping; you might need multiple baking sheets.
The Air Fryer Advantage
For a quick, relatively guilt-free, and incredibly crispy option, the air fryer is a revelation for
greek style homemade potato chips. Toss your dried potato slices with a minimal amount of olive oil (a teaspoon or two is often enough for a batch). Arrange them in a single layer in your air fryer basket, ensuring not to overcrowd. Air fry at 375-400°F (190-200°C) for 12-18 minutes, shaking the basket every 5 minutes, until they are golden and perfectly crispy. The air fryer delivers a fantastic crunch with much less oil than traditional frying.
Elevating Your Chips: The Greek Flavor Experience
What truly sets these chips apart is their Greek soul. While delicious plain, it's the earthy, tangy, and savory toppings that transform them into a true Mediterranean delight.
The Essential Greek Toppings
This is where the magic happens for
greek style homemade potato chips.
*
Feta Cheese: Our reference context highlights feta, and for good reason! As a "Greek gal" who puts feta on everything, we wholeheartedly agree. The crumbled feta adds a briny, salty punch that complements the starchy potatoes beautifully. It's truly a game-changer.
*
Dried Oregano: This quintessential Greek herb brings an aromatic, slightly peppery, and earthy note. A generous sprinkle over the hot chips, along with the feta, is simply divine.
*
Lemon Zest/Juice: A light grating of fresh lemon zest or a tiny squeeze of lemon juice brightens all the flavors, adding a wonderful tang that cuts through the richness.
*
Other Spices: Consider a pinch of garlic powder, a touch of smoked paprika, or a mild chili flake for a subtle kick. A classic Greek spice blend (often including oregano, thyme, marjoram, and a hint of garlic/onion powder) can also be a fantastic shortcut.
Beyond Greek: A World of Customization
The beauty of homemade chips is their versatility. While the Greek toppings are sublime, don't limit your imagination!
*
Traditional Nachos Reinvented: Use your crispy homemade chips as the base for a loaded nacho platter. Melted cheddar or Monterey Jack cheese, chopped green onions, a dollop of fresh salsa, and a swirl of sour cream make an irresistible combination.
*
Baked Potato Inspired: Channel your favorite baked potato by topping your chips with crumbled bacon bits, a spoonful of sour cream or Greek yogurt, and fresh chives.
*
Flavor Replicas: Missing your favorite bagged chip flavors? Sprinkle your warm chips with dill pickle seasoning, salt and vinegar powder, or even cheesy popcorn seasoning. The possibilities are endless!
Getting Kids Involved
Making homemade chips is a fantastic way to engage younger family members in the kitchen. Let them take charge of topping their own portions with their favorite ingredients. It's a fun, interactive way to encourage adventurous eating and teach them about fresh ingredients.
Why Homemade Greek Chips are Superior to Store-Bought
The benefits of making your own greek style homemade potato chips extend far beyond just taste.
*
Healthier Choice: You control the ingredients. No hidden preservatives, artificial flavors, or questionable additives. By opting for baking or air frying, you significantly reduce the oil content compared to commercially fried versions.
*
Unbeatable Freshness: There's simply no comparison to the taste and texture of freshly made chips. The crispiness is unparalleled, and the flavors are vibrant.
*
Customization: From the type of potato to the seasoning and toppings, every element is within your creative control. Cater to dietary needs or personal preferences with ease.
*
Cost-Effective: Potatoes are an inexpensive staple. Making chips at home is often more budget-friendly than buying premium bagged varieties.
*
Quick & Easy: As highlighted, you can go from raw potato to delicious snack in about 30 minutes, making it a convenient option for any time.
Storing Your Homemade Delights
To maintain that coveted crispness, proper storage is essential. Once your chips have cooled completely (this is crucial to prevent condensation), store them in an airtight container at room temperature. It's best to store them without any toppings, as moisture from ingredients like feta or sour cream will quickly make them soggy. Enjoy them within a few days for optimal freshness.
Homemade Greek chips are more than just a snack; they're an experience that combines the simple joy of perfectly crispy potatoes with the vibrant, earthy flavors of the Mediterranean. With minimal effort and maximum reward, you'll wonder why you ever bought a bag of chips again. So grab your Russets, prepare your ice bath, and get ready to create a batch of
homemade Greek chips that will become your new go-to crispy indulgence!